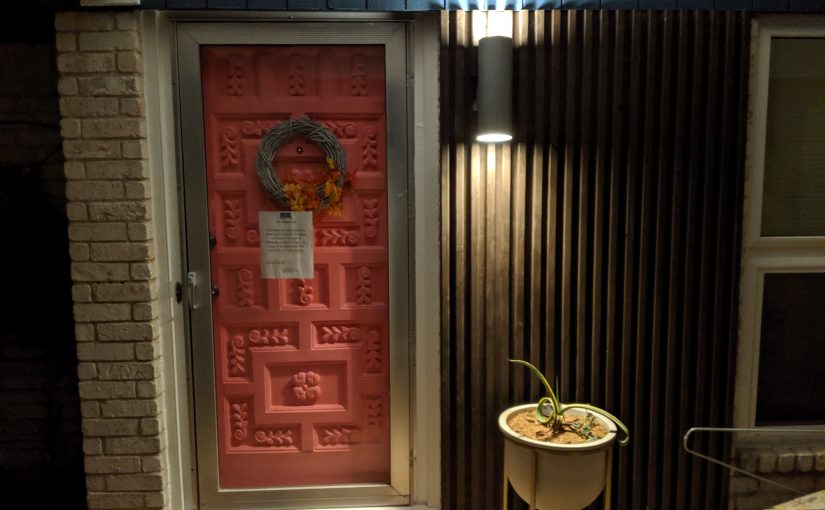
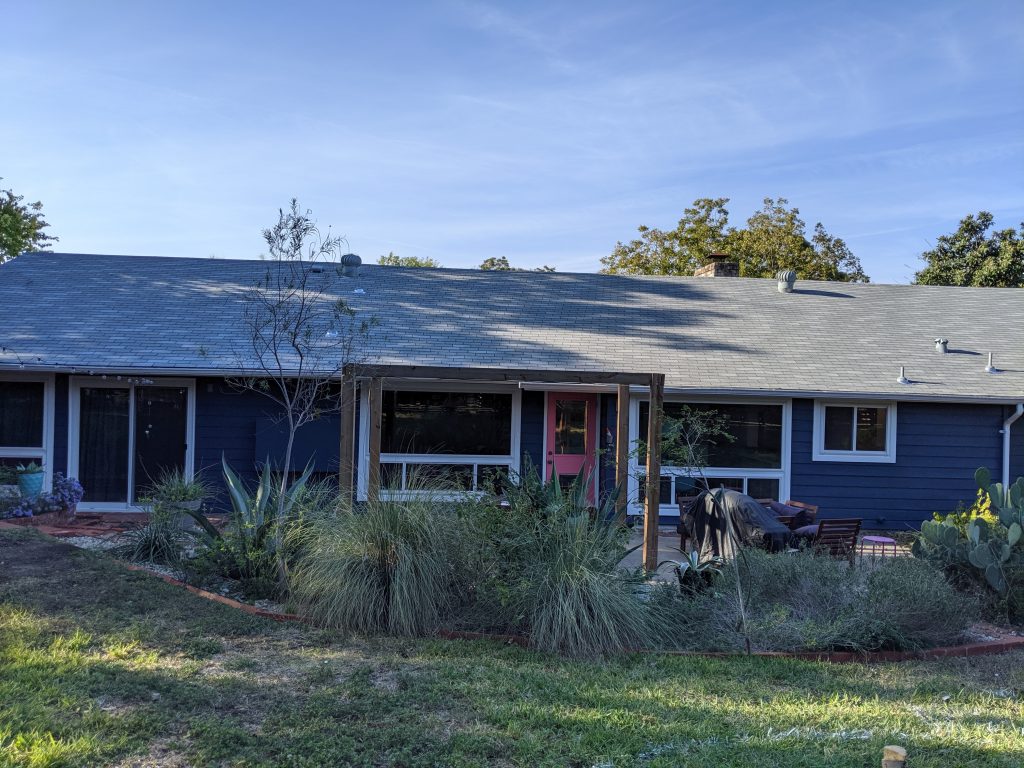
We got our house painted recently. The first night they started painting we got a ferocious storm. Somehow it managed to get the paint to run, but only right next to our front door.
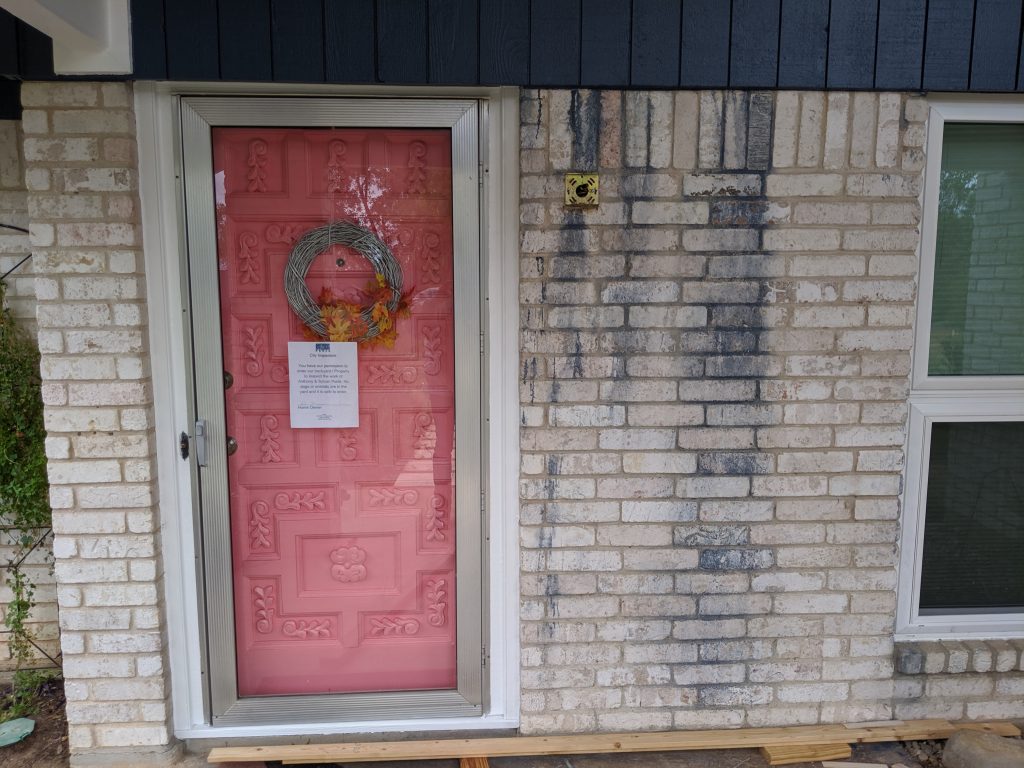
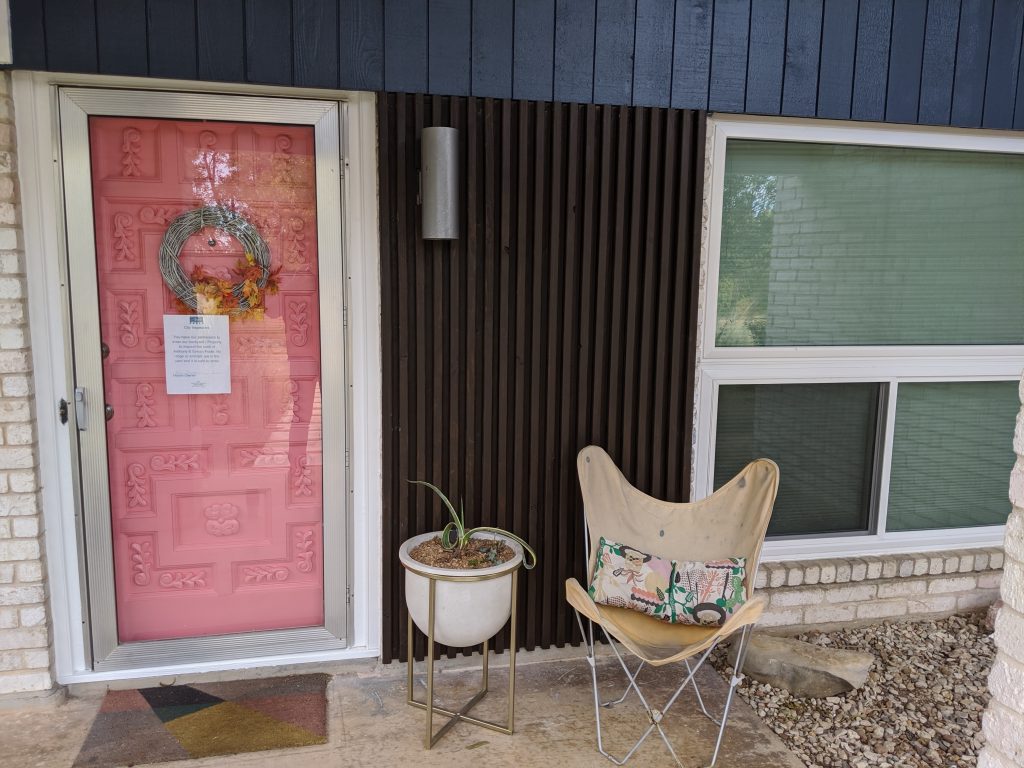
We like our brick color and didn’t want to paint all of it so Julie and I designed and built this mid-century panel to cover it. This project turned out pretty much exactly as planned which was really awesome for something so visible.
So what did we do? It’s a piece of pressure treated plywood on the back. the front is 2×2 pressure treated wood boards with about 1 inch of spacing between them. I determined the algebraic formula for this is:
(x * 2) - (x - 1) = y

x = number of 2 x 2s
y= width of panel
Julie drew it out using graph paper. Our numbes matched. We have different problem solving styles, but we are aware that we’re weird.
First we cut out the hole for the light and then stained all of the wood. After it dried we attached the boards from the back with 1.5″ decking screws. Having built too many sets to count we always pay more for decking screws. $2 is worth an extra hour of pre-drilling and stripped screws. Then I pre-drilled holes into the brick with my hammer drill and attached the board with a ratchet. It was a pretty easy project, and really inspired me to try more of the cool wood projects from the 1960s that it was inspired by. I’m thinking perhaps a slatted bench may be next…
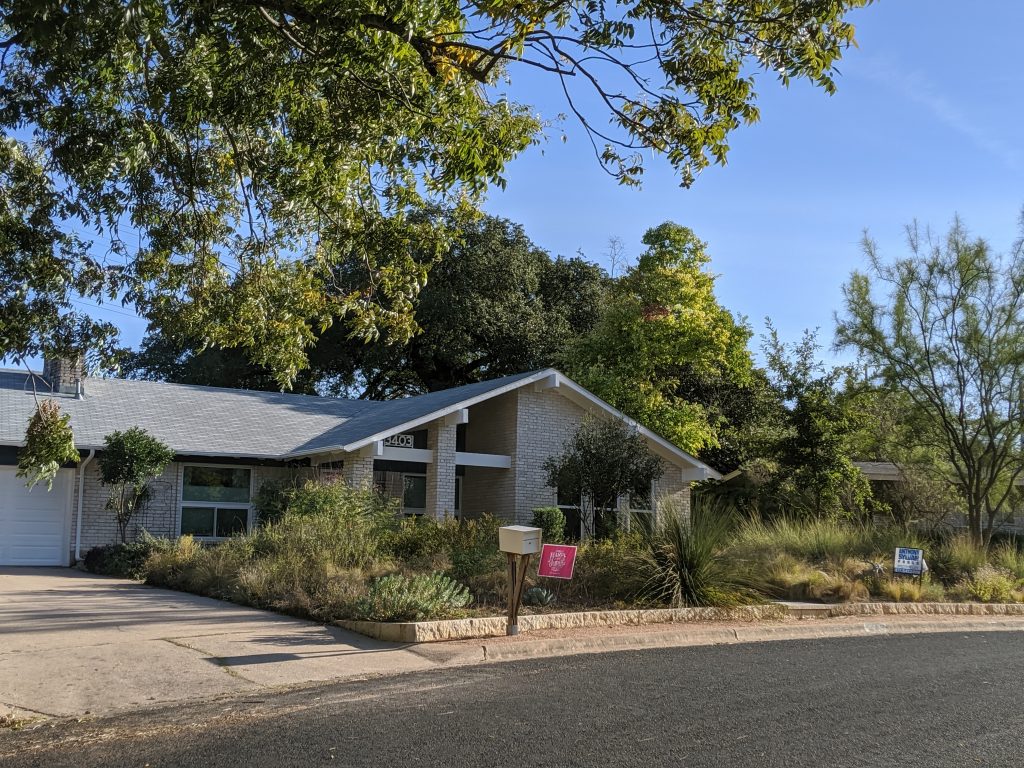
(Julie suggested that I should add some after shots of the painting as well. they repaired our rotting beams in the front as well, which I just love)
Your project looks fantastic, Tim. It really complements your house.